With the winter season coming soon it’s good to brush up on some DIY automotive skills. Anyone owning a car will have to go through repairs time to time. At times you’ll have to get your vehicle fixed by the mechanic, but sometimes you can repair it yourself and save a ton. Here are 7 steps I always take when repairing my truck. The best way to go through the steps is to do a walkthrough of a situation I was in recently.
Replacing a Thermostat Body
While getting my oil changed, the dealership tells me my car has sprung a leak, and the repairs would be around $400. This could turn into a big hole in my pocket or be a quick fix. Let’s find out.
My 2009 Ranger truck felt too young to be having parts go bad, but you never know when parts will fail. My warranty is up, so it’s time to take repairs into my own hands. Let’s go through my 7 steps of DIY automotive repairs.
1. Find the Problem
At first I wasn’t sure where the water was coming from. I could see a small amount of water near the center of the engine, right behind the thermostat body, and some near the manifold. With the engine running and a good flashlight I was finally able to see the leak was coming from the back thermostat body itself.
2. Watch Some Online Videos to See How It’s Done
Sure enough I went back to my favorite helper, the internet, to see how it’s done. It looked like I needed 6 bolts and 4 screws for the repair. I couldn’t find a video for my particular truck, so this is where my knowledge of Ford came in handy. I knew the Explorer has roughly the same engine models as the Ranger, so it’s just a matter of matching up the right walkthrough. The key in this step is to do research online. Try searching for similar experiences other people went through with their vehicles.
3. Check Online for the Best Prices
Since I was already watching videos, I went ahead and checked online for the parts I needed. It was roughly $50 for the body and $30 for the thermostat. Keep in mind, it’s always best to replace your thermostat and any other gaskets/O-rings when taking them out. They’re low cost items and it’s less work to buy new ones than fix up the old ones. The price came out to under 100$ and what looked like 2 hours of labor. It sounded like a perfect challenge for me.
4. Decide If This is Right for You
Jobs like this can be dangerous especially since we’re dealing with hot fluids and sharp bits. It requires a good understanding of engines and parts. While many pieces simply bolt together, there are many factors to consider when messing with heat, water and pressure. As always, if the situation feels out of control, ask for help or simply have a mechanic handle it. I feel pretty confident about my abilities but I still will turn to a real mechanic if the job is simply too hard, or I don’t have the time to complete it.
5. Removing the Parts
In order to replace the thermostat body I first had to remove the throttle body and the air flow hose. Then drain the radiator fluid into a sizeable bucket or other plastic bin. Make sure it’s clean if you plan on reusing your fluids. Next, I removed any hoses and wires connected to the thermostat body. The whole unit in my Ranger is held on by 3 bolts in the front, which contain the thermostat, and 3 more in the back. Some special tools were required like a swivel socket. It’s worth it to have one of these around if you plan on wrenching cars every so often. It’s much faster than trying to use a regular wrench. After the part is out, it’s a good time to clean up the area so everything will have a nice clean fit.
6. Reinstalling the parts
Once the parts were out I made sure it all matched up. The first thermostat body I received had 2 sensors but I needed one with a single sensor. So make sure it’s the right part before you install it. Then fit in your O-rings. It’s a good idea to use some Vaseline to help keep the O-rings in place while you reinstall the body. It’s important to note with modern cars a lot more plastic is used in production, so be careful not to over tighten them as they can break as easily from too much torque. Tighten up the bolts and hoses in the reverse order you removed them. Finally you’re ready to re-add you fluids and fire it up.
7. Fire it Up
Once the car is running again make sure there are no leaks, especially around the parts and hoses you disconnected. You might need to tighten a hose clamp. Let the engine warm up enough so the thermostat can kick in, this way you know everything will be okay. I usually take the car on the freeway for a few miles to make sure it’s warmed up. Lucky for me I had no leaks and no other problems. So it was back to driving like normal.
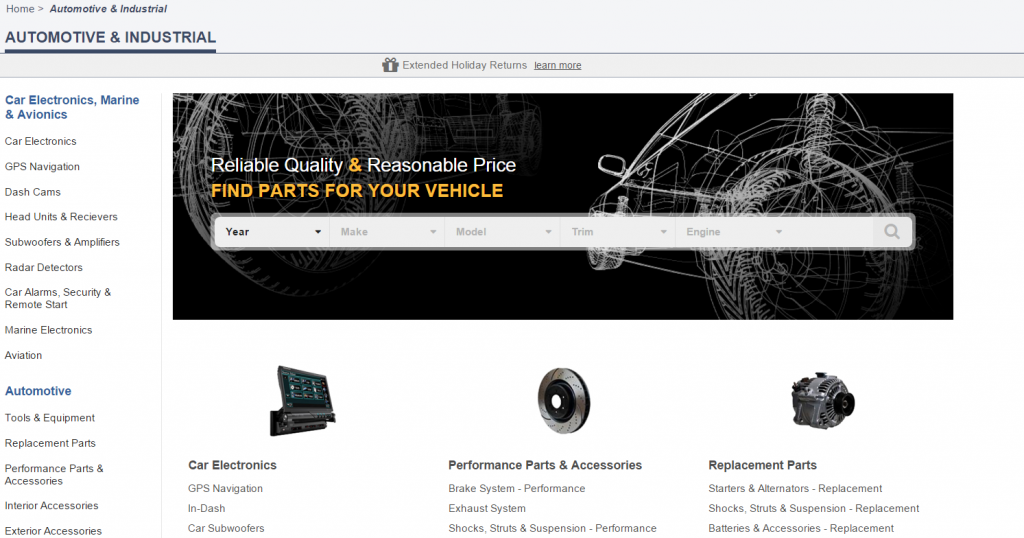
Automotive Fixes With Newegg
I hope you enjoyed reading through my steps for DIY automotive fixes. This was a real scenario I went through while working on my truck. Remember, it’s always best to get your vehicle checked out by mechanic before considering repairing or replacing parts.
What are some of your DIY automotive fixes or experiences? If you liked this type of article let us know in the comments below.

