
Getting a good audio recording is all about controlling and eliminating variables. Ideally, you’d record in an acoustically treated room, located 100 miles from anything and anyone, with the best mics, interfaces, and equipment.
But you don’t own a multi-million dollar recording studio in a cornfield. You, like many of us, want to go where the action is. Recording on the go requires tweaks to your technique, specific hardware, and a bit of finesse. Here’s how to do it.
Check the technique
The most expensive gear in the world won’t help you if your recording technique is bad.
The basics of recording are thus: You have a sound source, whether that’s a human voice, an acoustic guitar, or a full band. You record that sound source via a microphone, and the microphone sends its signal to a pre-amplifier (usually built into a mixing board or a sound interface). That signal is either sent out to an amplifier, which boosts the signal to be played through speakers, or it’s sent to a computer where it’s converted to a digital signal and recorded.
“We’ll fix it in post!”
 This is the kiss of death. Don’t fix it in post. Get the best recording you can in the moment. Post is for fixing small mistakes and polishing an already great product. Yes, small miracles can be achieved in post with modern recording software. But small miracles are often time-consuming and expensive. Don’t rely on miracles, large or small. Rely on good technique.
Control your environment
Again, I’m assuming you don’t have access to an actual recording studio. Without a studio recording room, your best ally in any recording situation is a quiet room with a carpet and lots of soft stuff in it – beds, couches, even sheets and moving blankets hung on the wall. While not as good as true acoustic treatment, you can still get excellent results. And if you can afford to acoustically treat your room, by all means, go for it. A closet full of clothes works well too – my wife and I have used that for our professional voiceover work for years.
However, keep in mind, foam/blankets on your walls will not eliminate outside sound. It’ll only help reduce sound reflections and echoing in your recording. Eliminating outside noise is more complicated and requires building a recording booth. There are some cool DIY solutions for this.
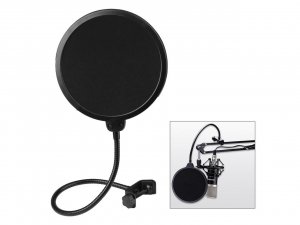
Make sure to turn off any air conditioners, fans, or heaters that may be adding noise to your recording. Shut your windows to eliminate street noise, wind, birds, and other ambient sound. If you’re recording vocals, use a pop filter. This is a small cloth filter that attaches to your mic stand and sits between your mouth and your microphone and stops air from your mouth from hitting the mic during plosives.
If you’re recording outside, be cognizant of traffic noise, airplanes, helicopters, crowds, barking dogs, and passersby. Also, make sure to protect your microphone from wind noise using a wind muff, foam windscreen, or blimp. These range in price, size, and weight, but they all do the same thing: protect your microphone from air hitting it. Make sure you get one that works with your chosen microphone.
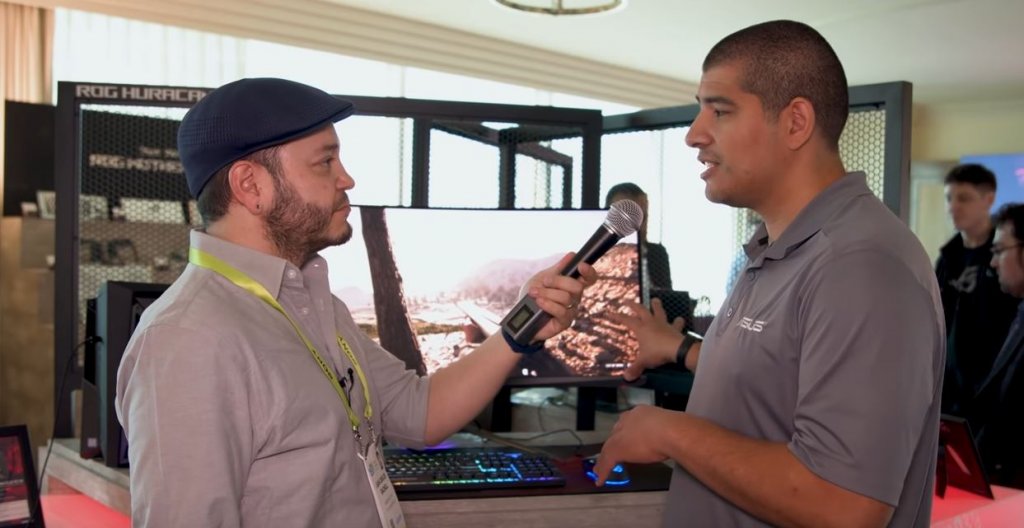
However, sometimes it isn’t possible to control every element. Sometimes you’re on a convention floor, in a loud house, or at a noisy event. At this point, mic choice and technique can help reduce noise.
Mic pickup patterns and technique
 One of the most important things to know about microphones is pickup pattern. Premiumbeat has a wrote an article about pickup patterns and their use cases for filmmakers. The world of microphones is vast and deep and includes $20 mics that are on par with kids toys and mics that cost as much as a small house. When you’re on the go, you want durable mics that aren’t too sensitive to background noise, so I recommend cardioid handheld microphones like the SM-58.
Get as close to your subject as you can. A mic closer to the source will sound richer, bassier, and louder; it will also pick up less outside noise. But be sure to watch your levels.
Watching your levels to avoid clipping
Nothing will destroy a recording faster than clipping. Clipping is distortion that results when the signal from your microphone is too loud for the pre-amp. This can result in a recording that sounds awful and will be unlistenable. If you’re playing through an amp or speaker, clipping can blow the speaker, leading to costly repairs and an angry audience.
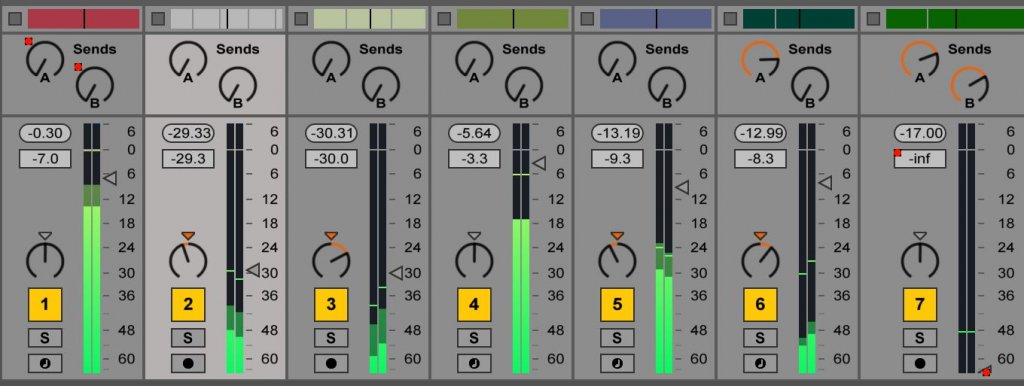
The simplest way to avoid clipping is to watch your levels. Watch your levels and make sure they don’t max out. If they do, turn it down.
You’ll notice in the graphic above (the mixer section of Ableton Live, in case you were curious), the markings on each mixer channel go from 0 down to -60 decibels. There are some complicated technical reasons for this, but if you aren’t into reading that, hear this: Keep your levels around -6 to -12 decibels and you’ll end up with a pretty decent recording in most situations.
Audio for bands
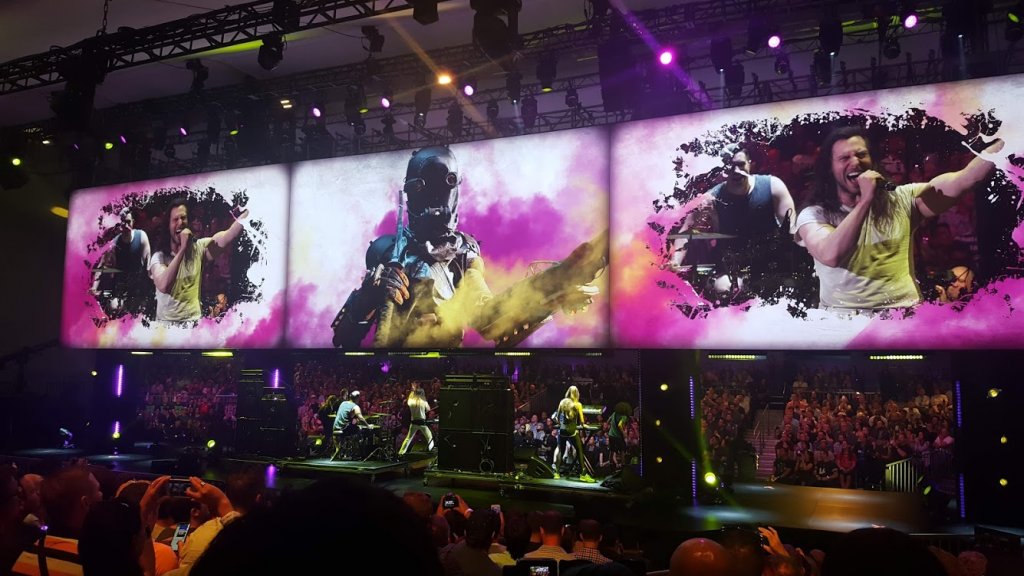 Your goal when recording live bands is threefold: Set your levels correctly to avoid clipping, make sure you get a good mix, and make sure you get a recording of the room, including the audience’s reactions.
To avoid clipping for bands, show up to the band’s sound check, hook up your recorder, and check all your levels. If you’re allowed to communicate with the engineer and the artists, tell them to play the loudest section of their loudest track. Make sure that doesn’t clip and you should be set for their set.
Keep in mind that a “good mix” means different things to different people, and it depends a lot on genre. Listen critically to your favorite albums. In rock bands, vocals are almost always in the “front” of the mix, followed by the guitar or piano. Bass and drums are usually in the “back” and help drive the track.
Rap performances, on the other hand often bring bass and drums to the forefront. Think about what you’re recording, how you want it to sound, and shape your mix accordingly. There are reams of words written about this subject, and you can go deep down the rabbit hole if you want.
 Depending on your budget here, you can record full multitrack mixes using digital mixers, or you can scale down to a simple stereo recording with a hand recorder like the Zoom H5. One of the benefits of the H5 is that you can set up its built-in microphones to record a separate audio file to record both the band and the audience reactions.
However, mix shaping is up to your audio engineer, because it’s all going to be done inside the mixer before it hits your recorder. If you’re the engineer, great. If you’re not, have a conversation with the engineer ahead of time about what you want.
Audio for podcasting
If you’re recording a live podcast on-site, you’ll most likely be doing so in a venue with an existing sound system. So you’ll be using their mics, their mixer, their system.
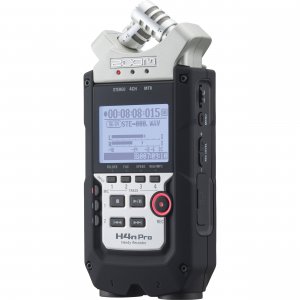
You can use a portable recorder like a Zoom H4N Pro to record a stereo feed off of the mixer, or you can use a more expensive multichannel recorder to record each speaker individually. This will allow you to manipulate levels in post, in case some of your speakers are much louder than others.
Always be sure to check your levels, especially if you have someone who’s a shouter. Hopefully there is a sound engineer and they’re paying attention, but if not, set your levels low to avoid clipping.
Also, if you’re attempting to record audio from folks speaking on-stage, and you don’t have access to a board feed, the Zoom H4N’s built in microphones can work. The recording will be quite a bit rougher though, and you’ll pick up a lot more room noise.
Audio for video
For folks trying to record better audio for video, there are three solutions you should consider.

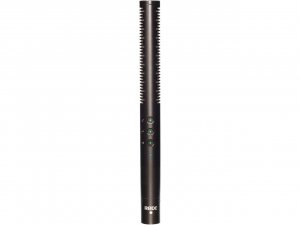
On-camera shotgun microphones
For folks recording using DSLR or mirrorless cameras, these mics sit in the hotshoe and connect to your camera’s microphone jack. They come in all shapes, sizes, and prices, from the astonishingly cheap, but surprisingly good, Takstar SGC-598, to the premium Rode VideoMic Pro+. The main benefit of these sorts of mics is that they attach to your camera, and it’s easy to set and forget them. The main drawback is that if your subject is more than five feet away from your camera, the sound will degrade significantly.
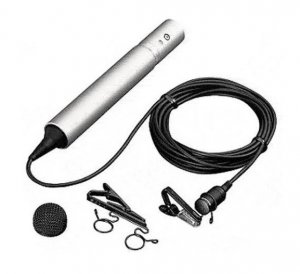 Lavalier microphones
These are the tiny microphones that you can clip to shirts and ties. You can get away with extremely cheap lavaliers, but they are far more fragile than more robust lavaliers, like the Sony ECM-55B. You can also get wireless lavaliers, which can be useful in certain situations, but they can introduce noise due to interference. Remember, regardless of what you buy, always have a backup.
Shotgun mic on a boom
This is the most expensive and complicated option. This requires a boom, a shotgun mic, a shockmount, and usually a separate recorder. However, it also provides great sound, and a good operator will keep the mic close to the talent.
Keep in mind, if you use microphones with professional XLR connections, you’ll need to either use a separate recorder or you’ll need to use something like a Juiced Link to connect these mics directly to your camera’s 3.5mm mic input jack.
Software
Last but not least, consider your digital audio workstation software. There are tons of great tools on the internet for editing audio, but a perennial favorite, and one that I used myself for years (before moving on to Adobe Audition) is Audacity. It’s free, open source, and cross-platform. There’s also an enormous userbase online with tons of tutorials. If you’re stuck on something, you can usually Google up an answer in two seconds.
Related Posts
- The best PC speakers (fall 2022 edition)
- Building a Gaming PC for the First Time? Don’t Panic, This Guide Can Help You Out
- How to manage syncing across your Windows 10 devices
- Upgrading Newegg Studios with NVIDIA RTX 2080 Super GPUs
- The EVGA NU Audio Pro 7.1 sound card: Upgrade your audio expectations